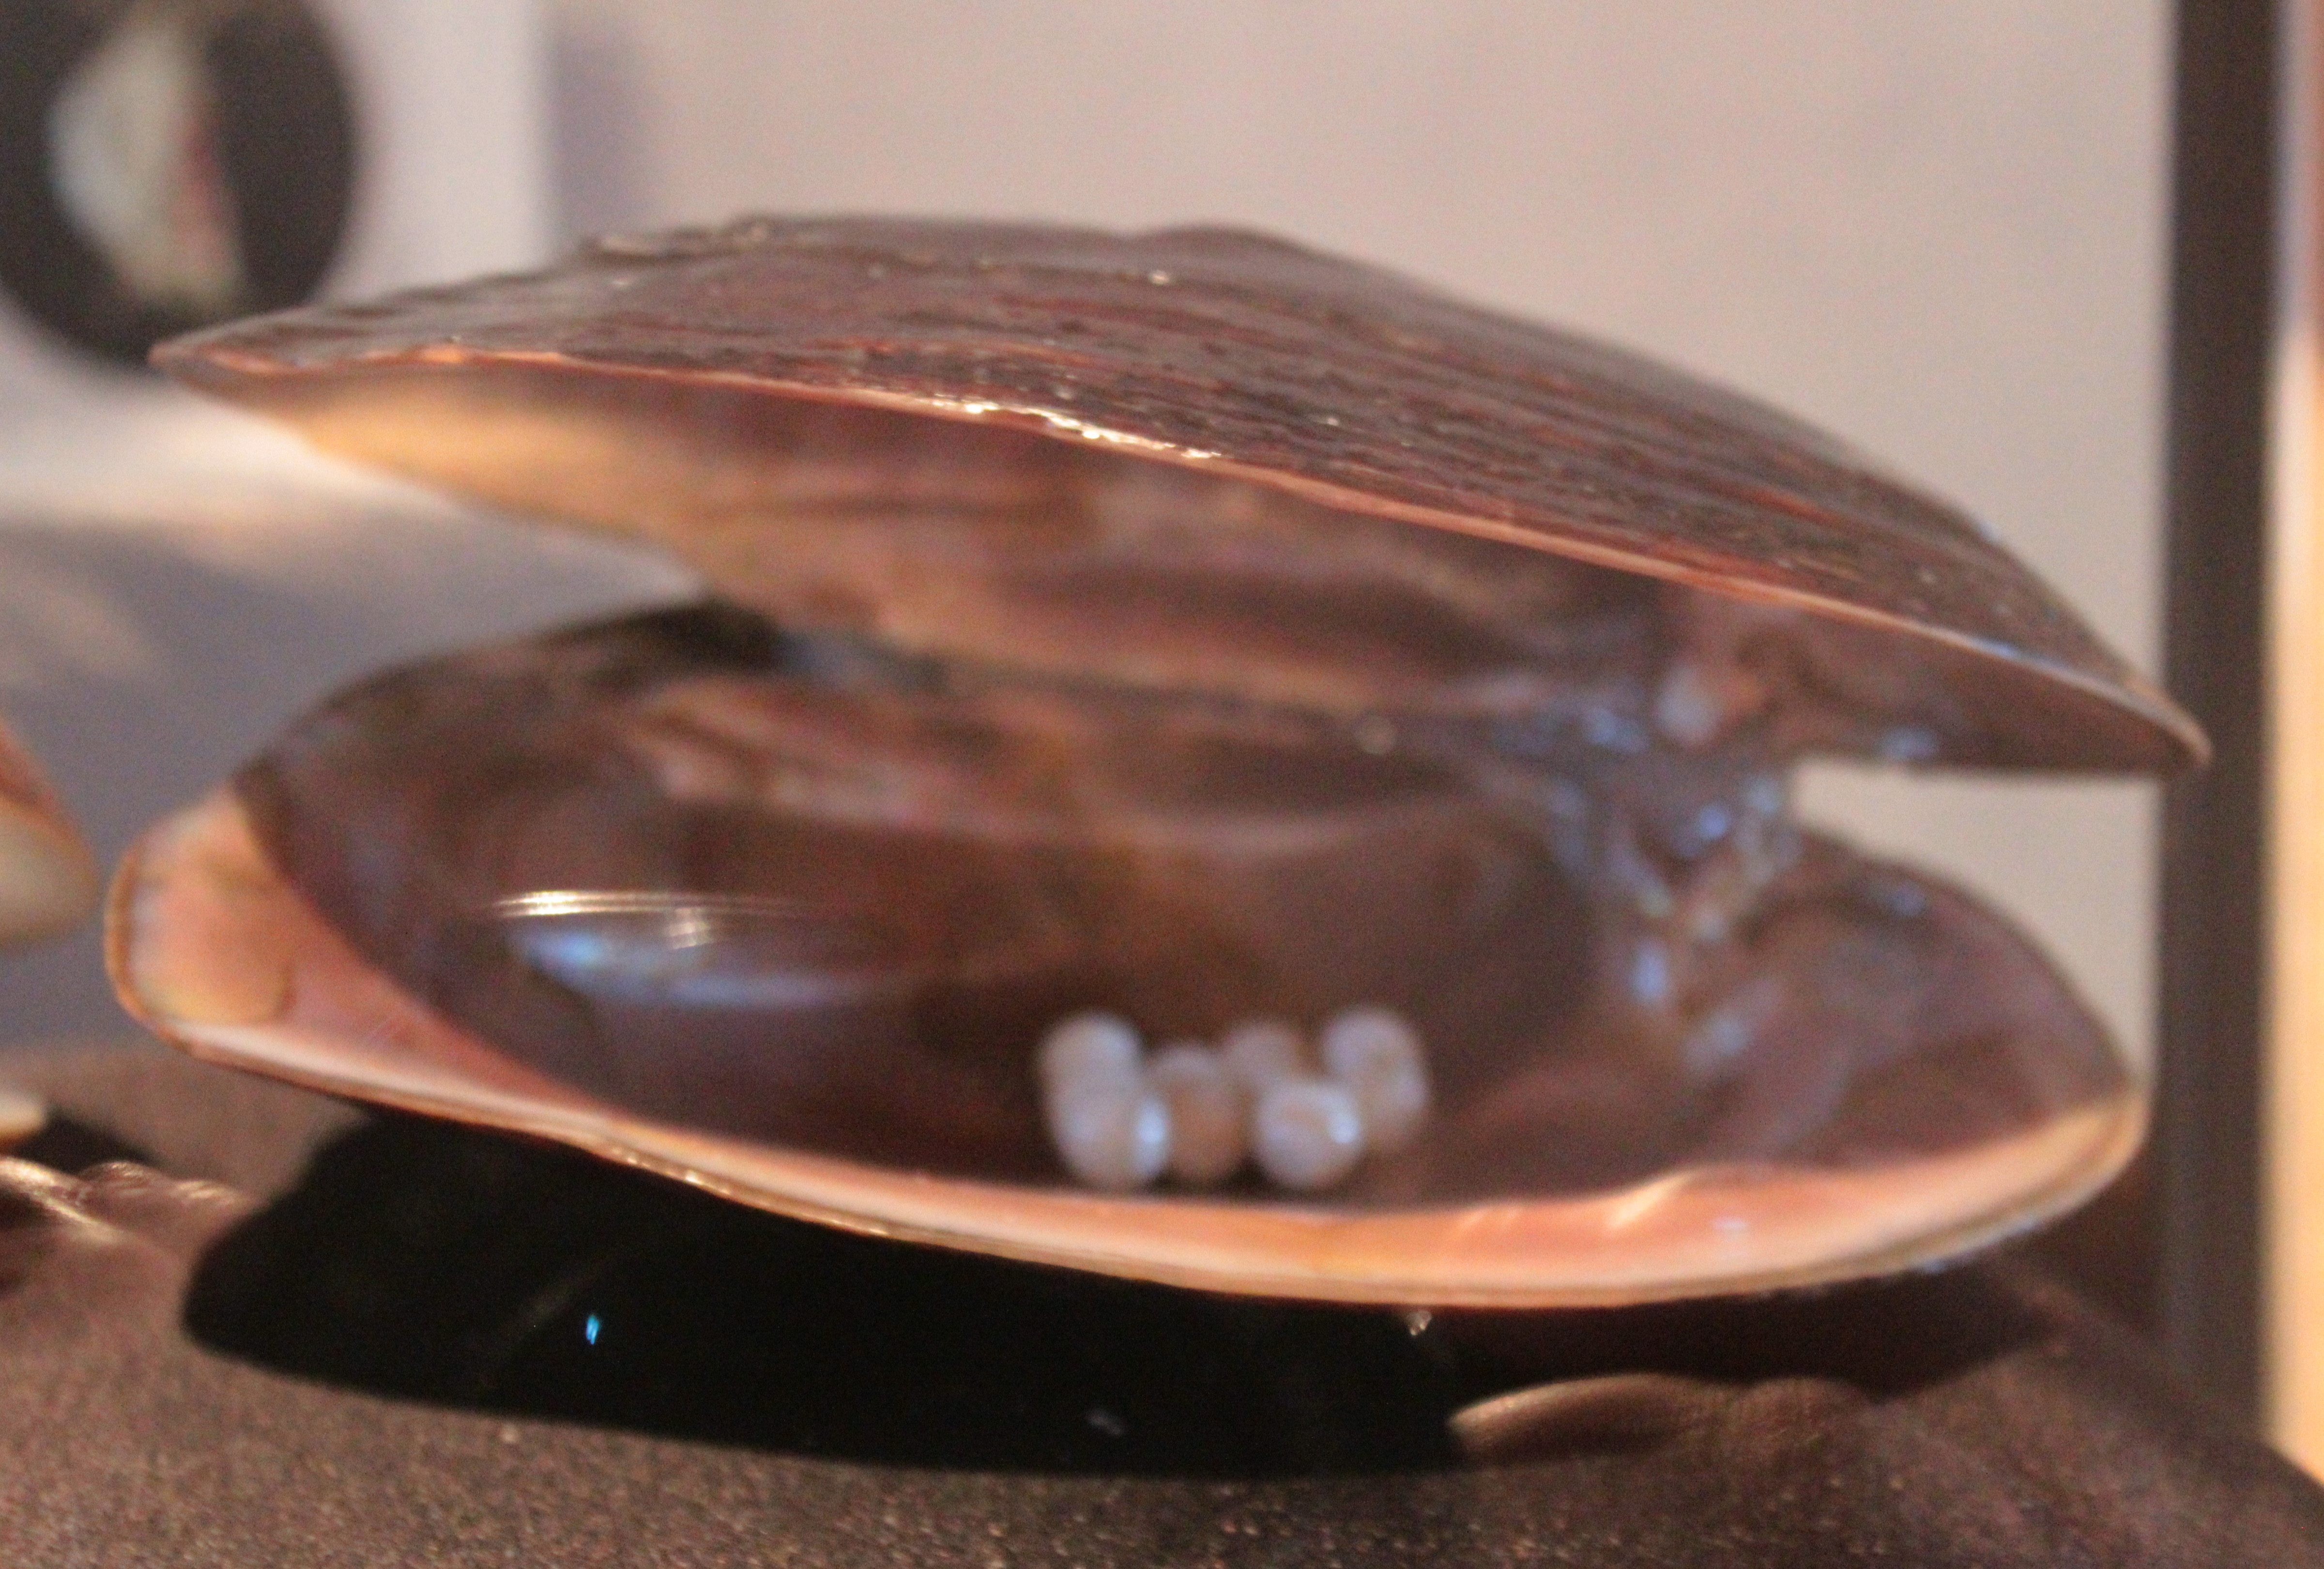
Arkansas Freshwater Pearls. The little beauties brought me to Jacksonport State Park where I attended a pearl-stringing workshop with my mother and two aunts. Jacksonport is located on the White River in Newport with a rich history tied with the Civil War. It was the former Jackson County seat and was overrun with Union soldiers in 1962. It was eventually recaptured by the Confederate.
Still, trouble persisted in the once vibrant community after the war. The community built the above $80,000 courthouse in 1872 but refused the Iron Mountain and Southern Railroad’s request for a land grant. It eventually went to Newport aiding that town’s growth instead. A fire would then burn 12 businesses with homes followed by a flood ruining more.
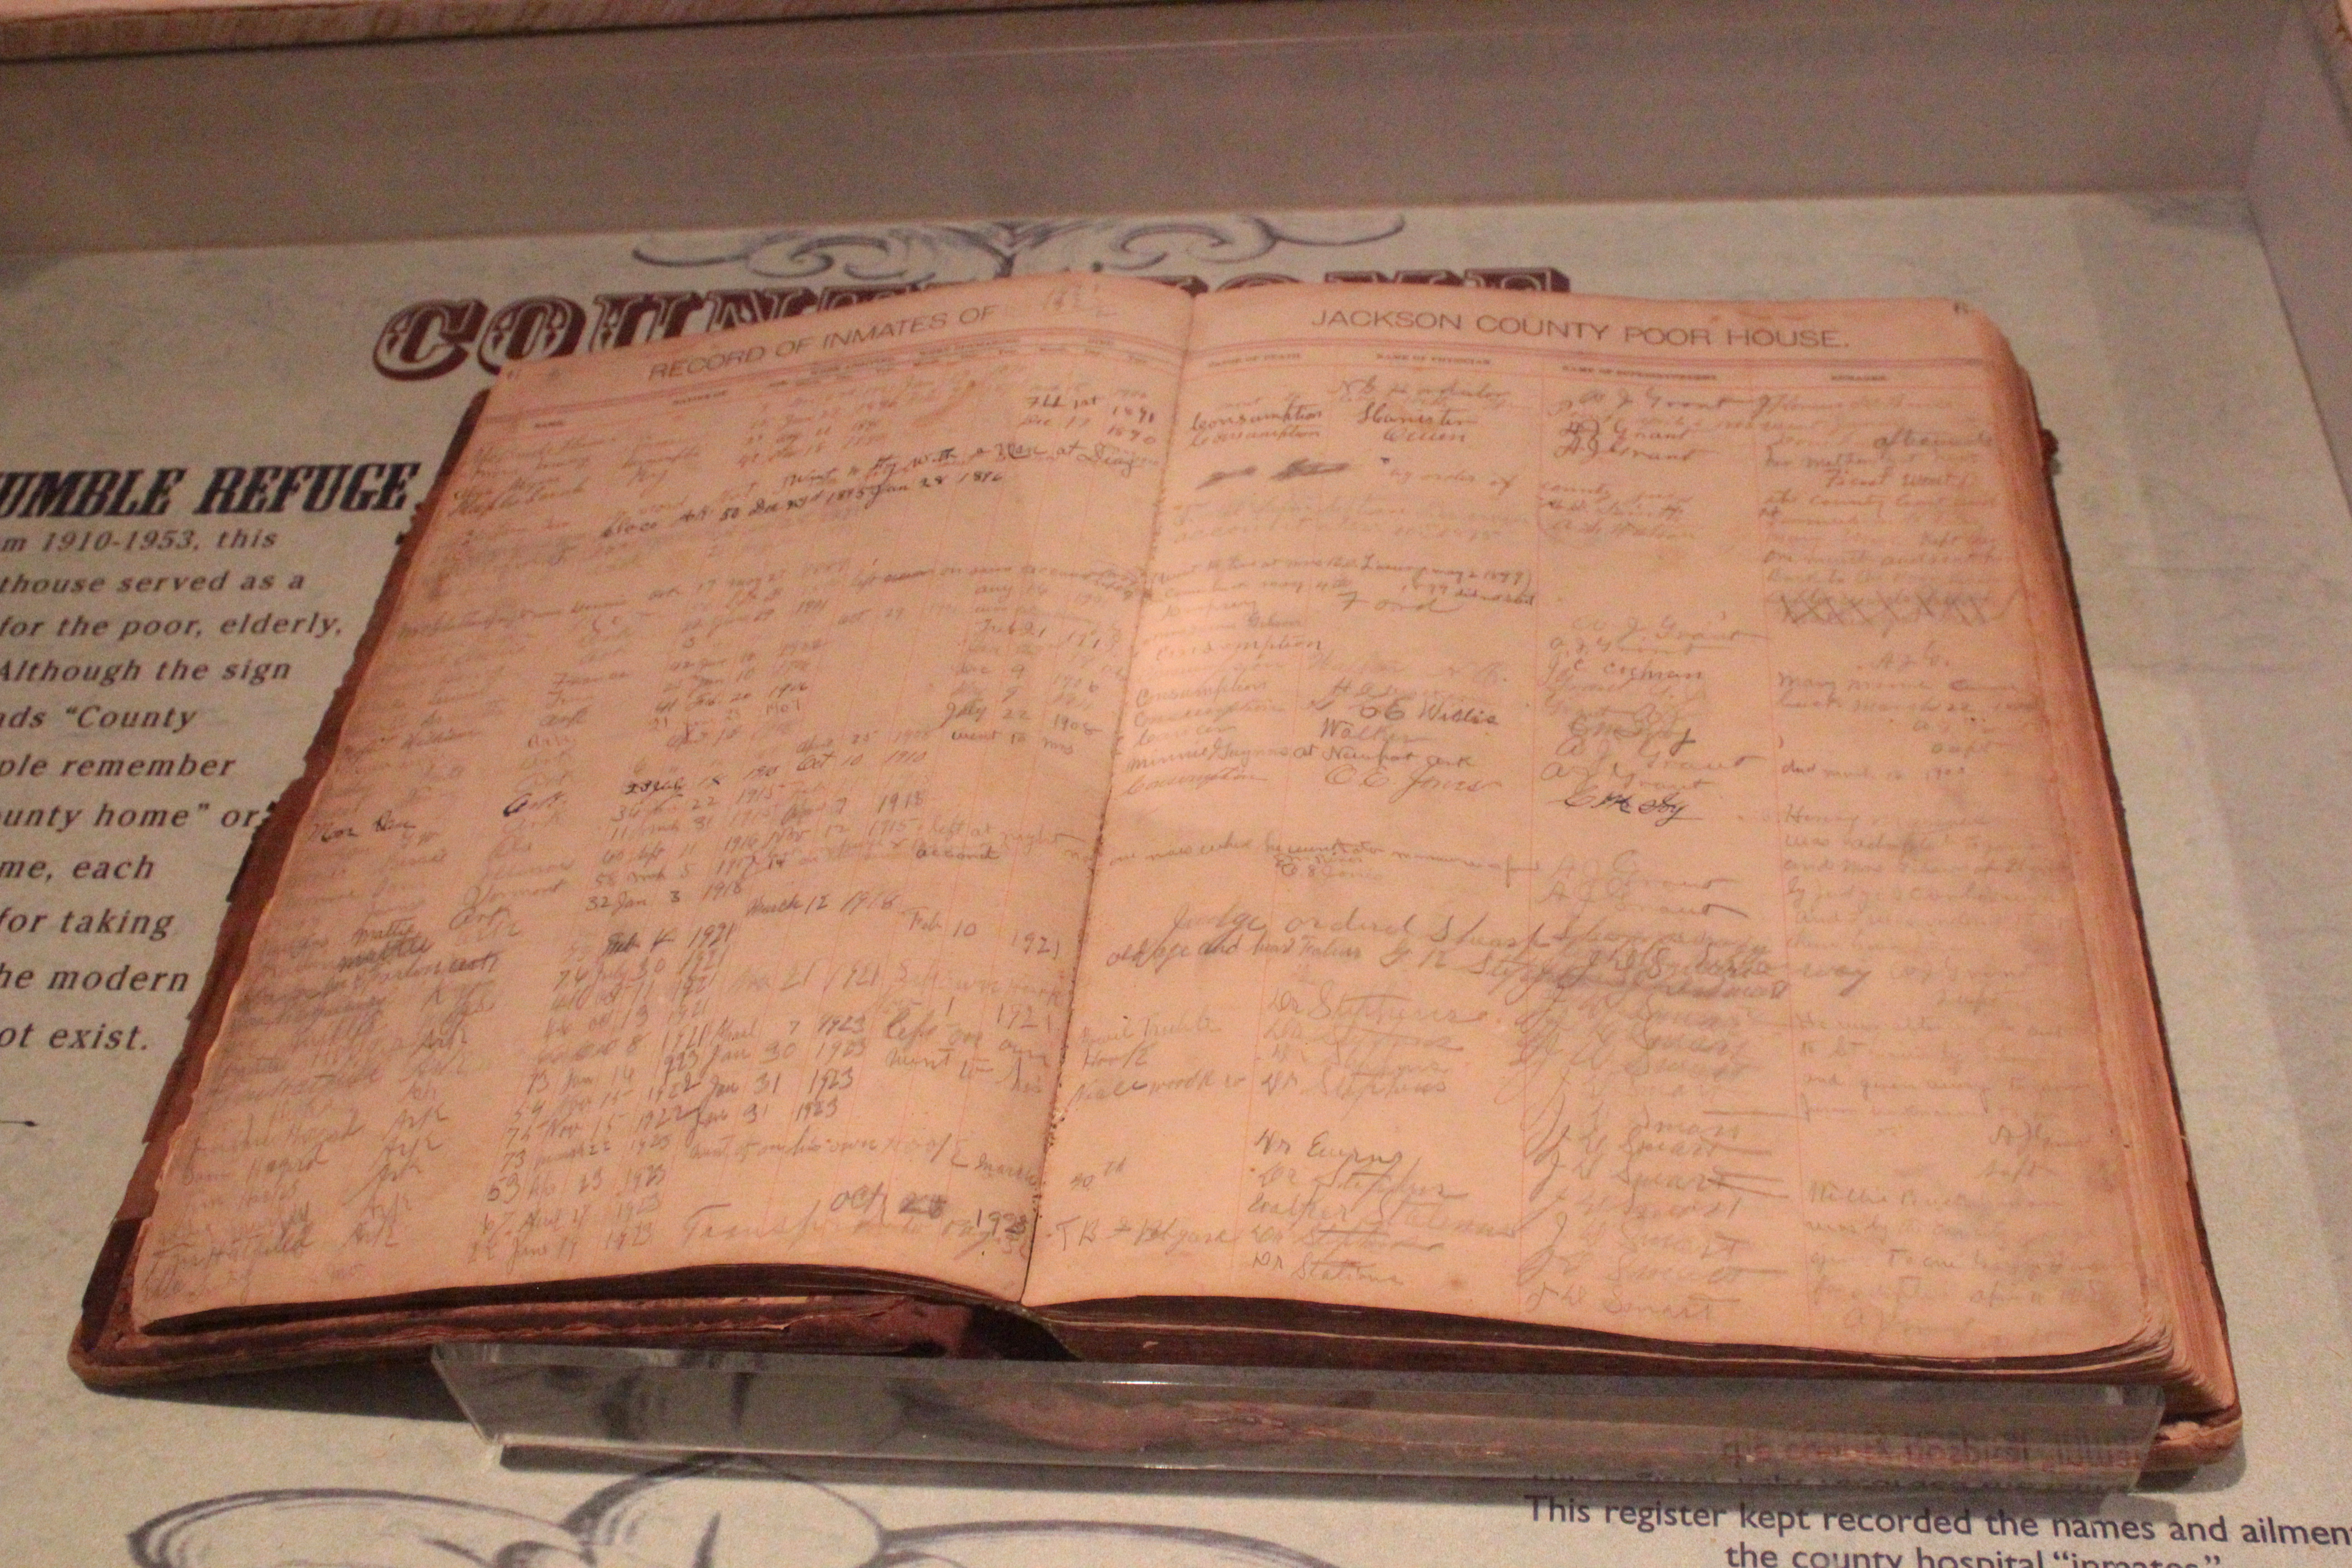
In 1892, the county seat moved to Newport with the courthouse standing empty for years. According to the state park, it became home to a number of community operations and businesses over the years starting with a public school. It later housed, at separate times, a cotton gin, a poorhouse, a granary and eventually wild animals.
The Jackson County Historical Society purchased it in 1962 to refurbish it and it now houses the community’s history including artifacts from its pearl-diving heritage.
It was in the late 1980s that pearls were discovered. According to the state park, the pearls were worn by the Indians as beads and locals scoured the White River for as many as they could find. A button factory opened in Newport with locals providing the mussel shells.
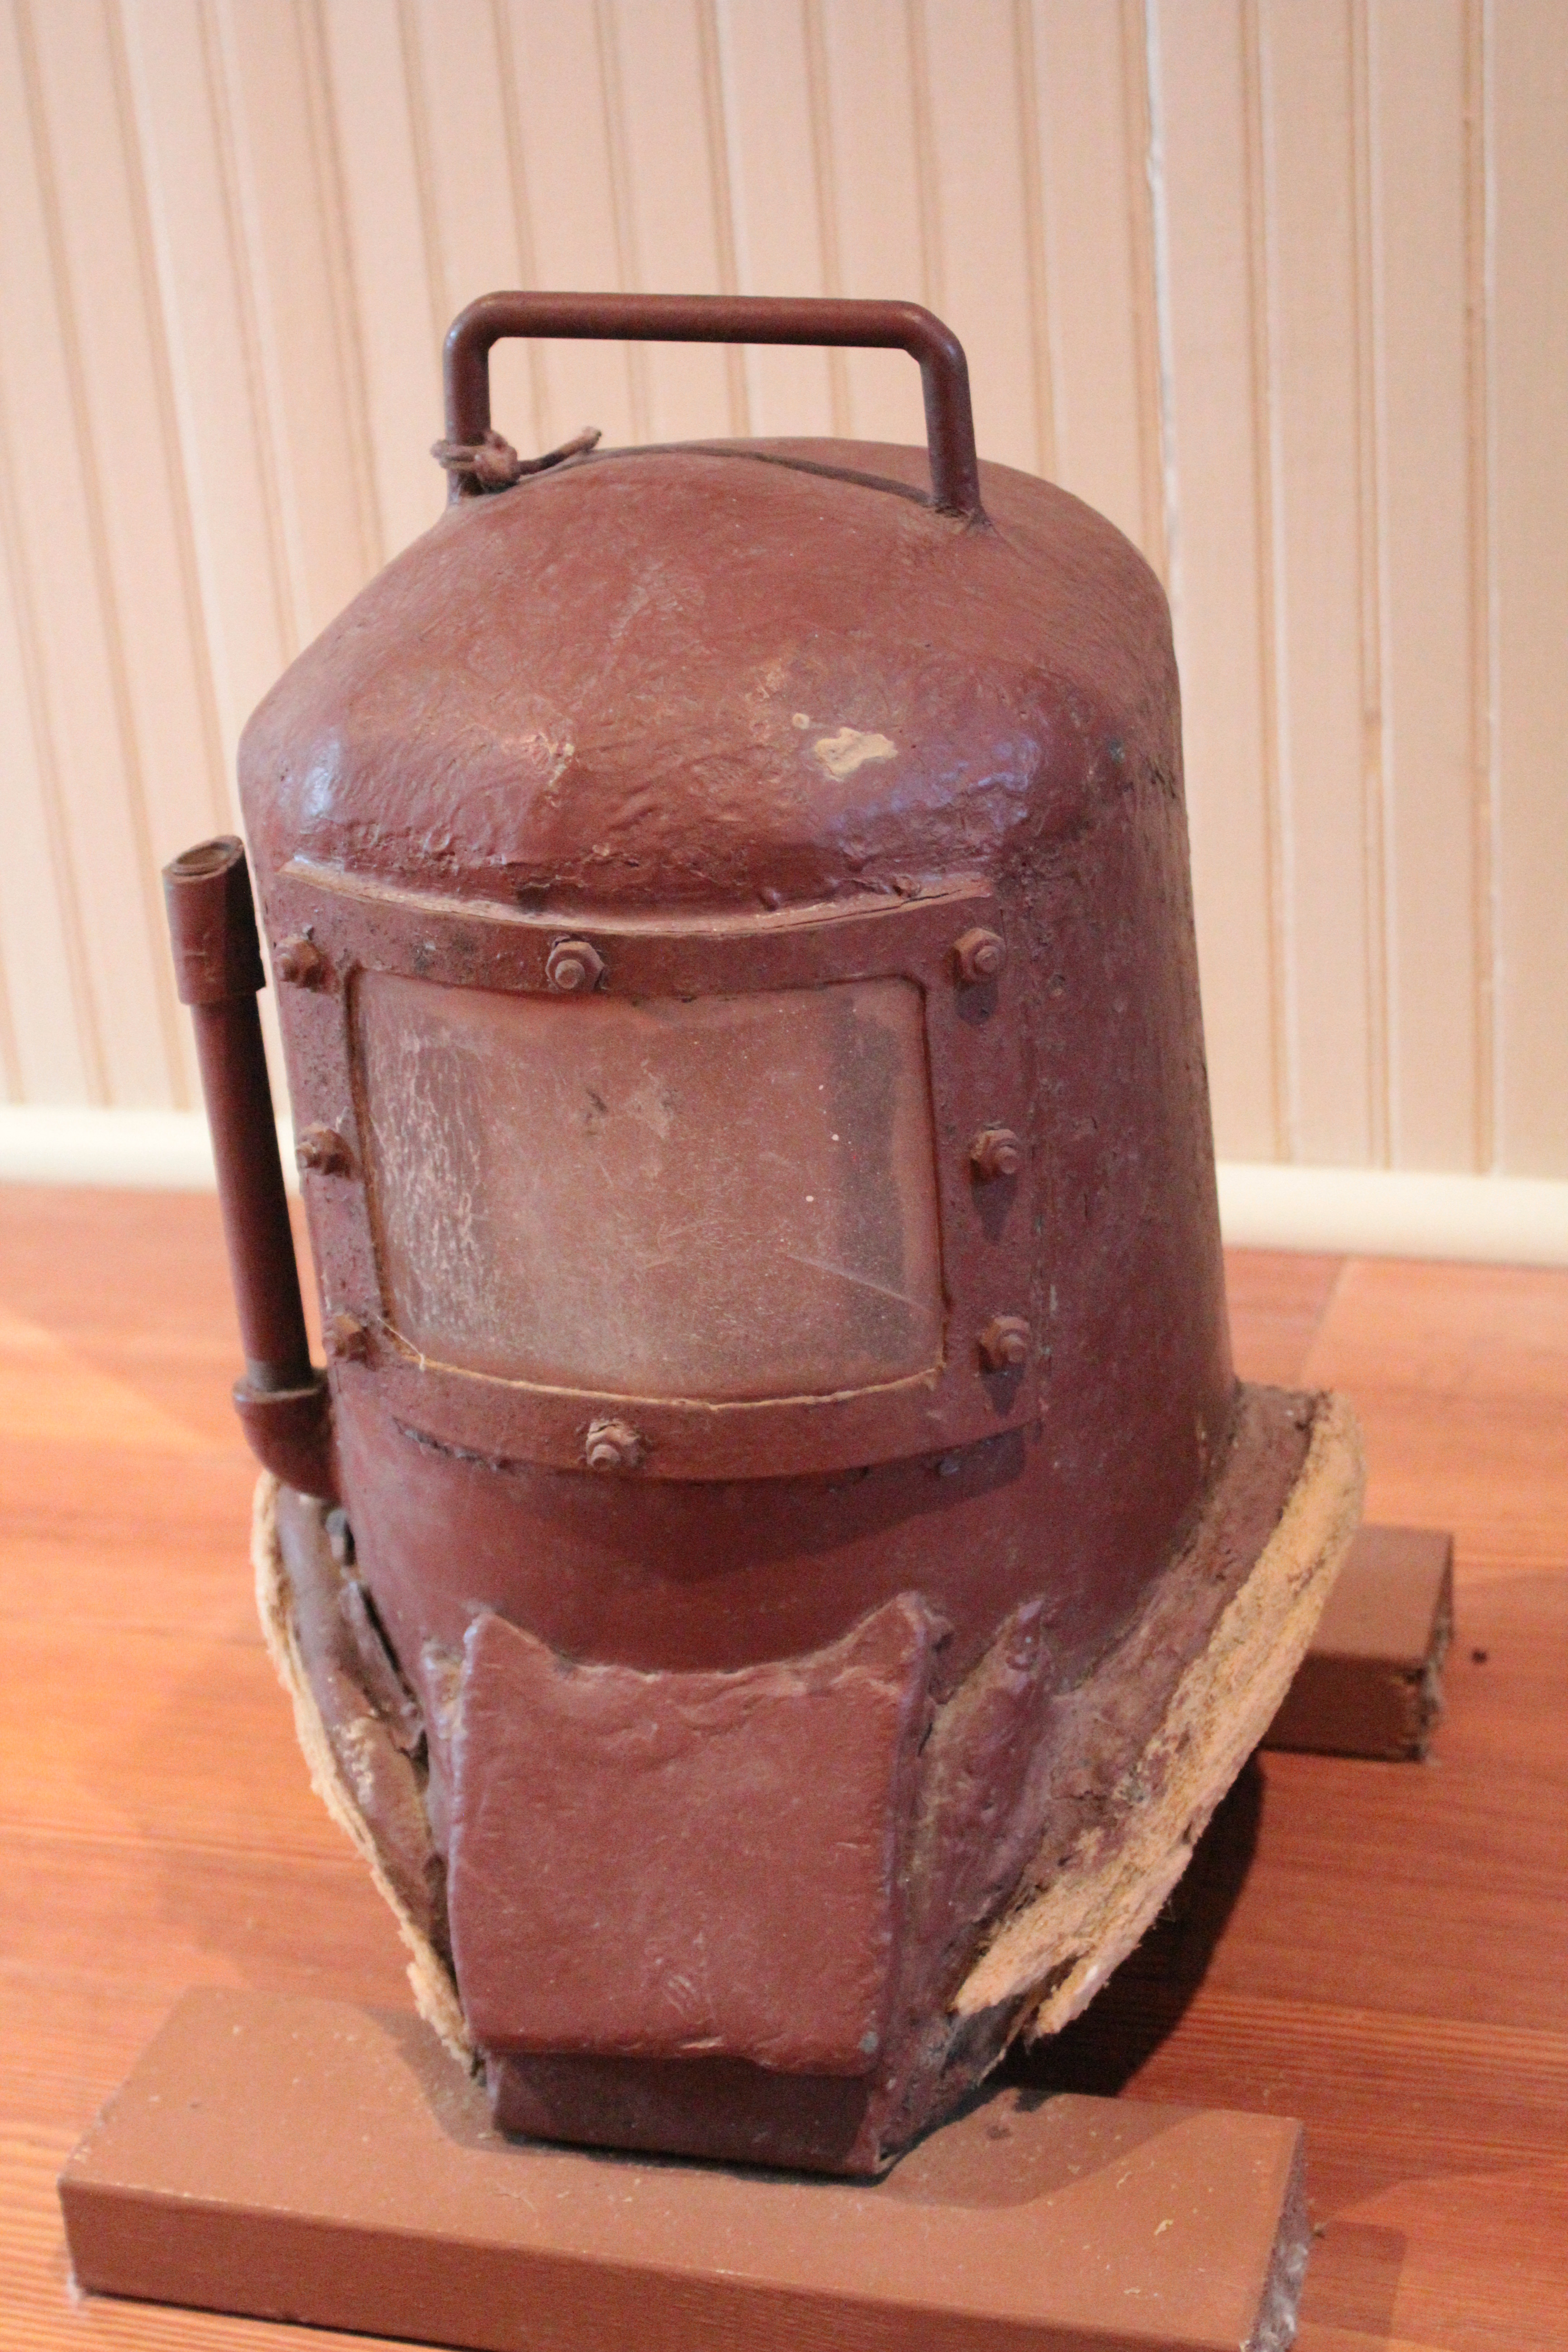
What’s interesting is how residents looked for the freshwater mussels holding the pearls. Arkansans know a thing or two about making do with what you have. People would use garden hoses to breathe through while under water along with diving helmets (above) made out of old fire extinguishers, hot water tanks and even an old torpedo casing (according to the Encyclopedia of Arkansas). The discovered pearls fetched about $10 each during the depression era, which was about a week’s worth of wage.

We didn’t use local pearls for our pearl-stringing workshop. We discussed the community’s history with freshwater pearls before heading upstairs to our work station.
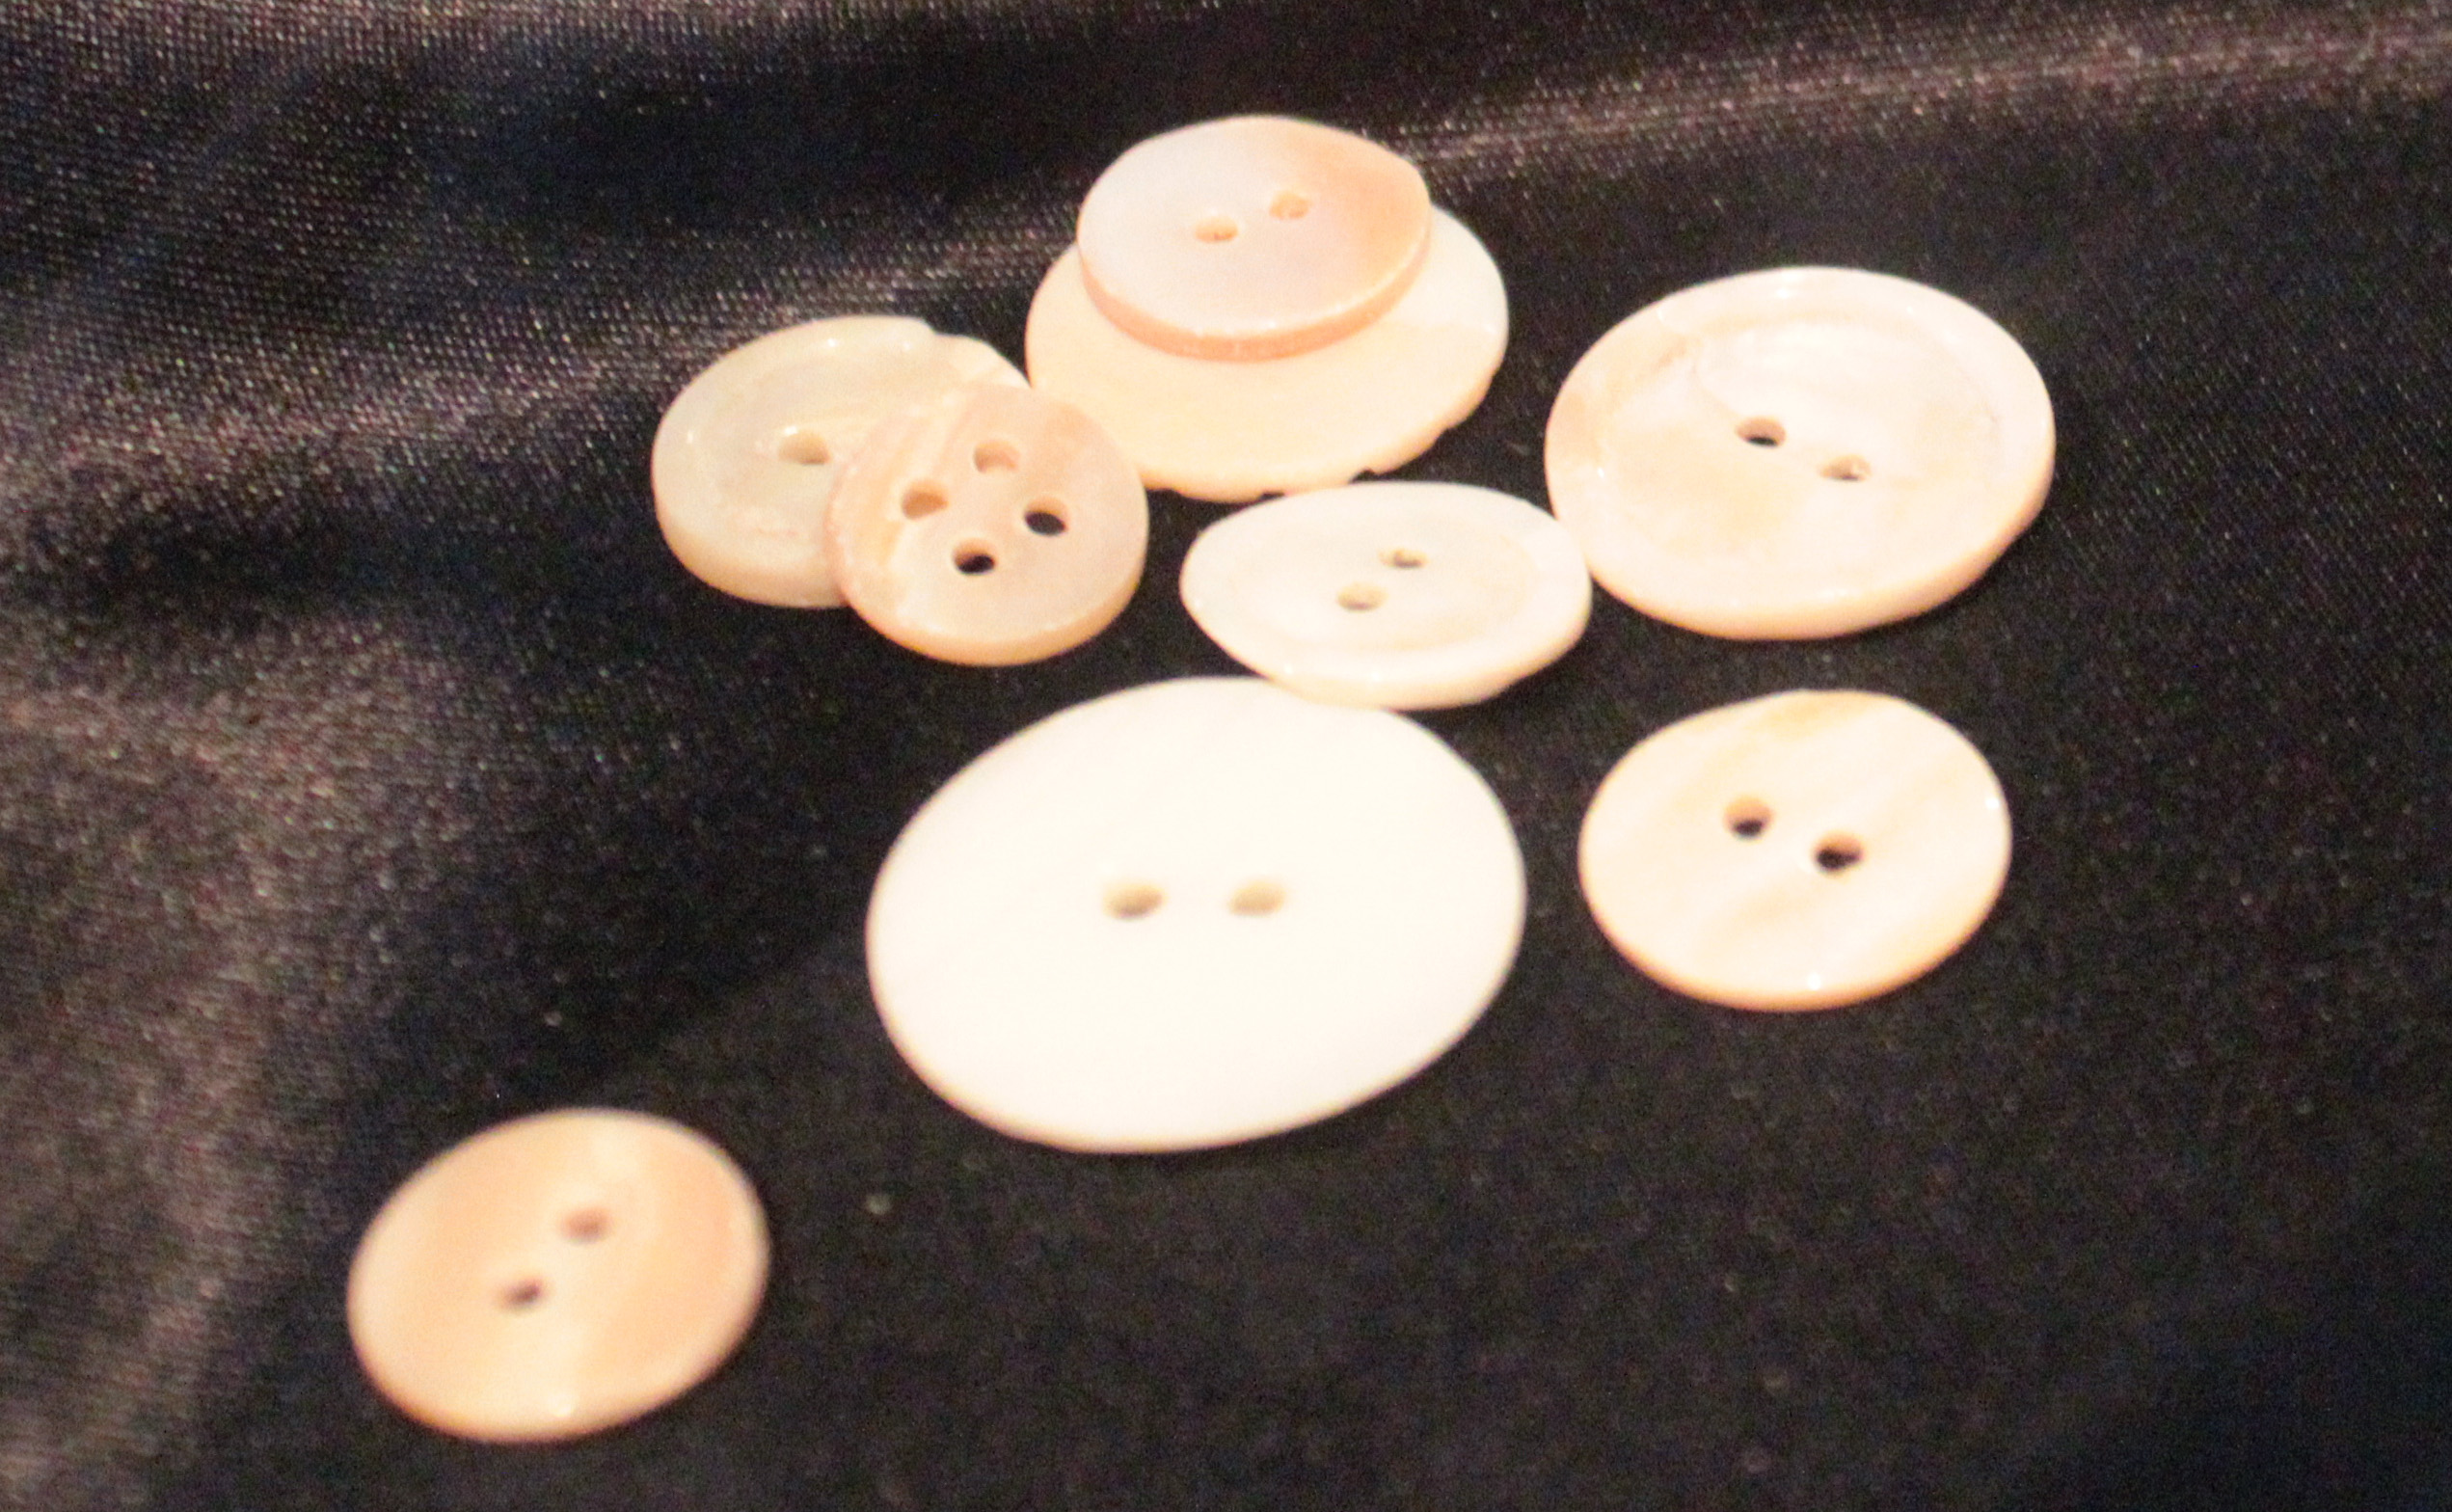
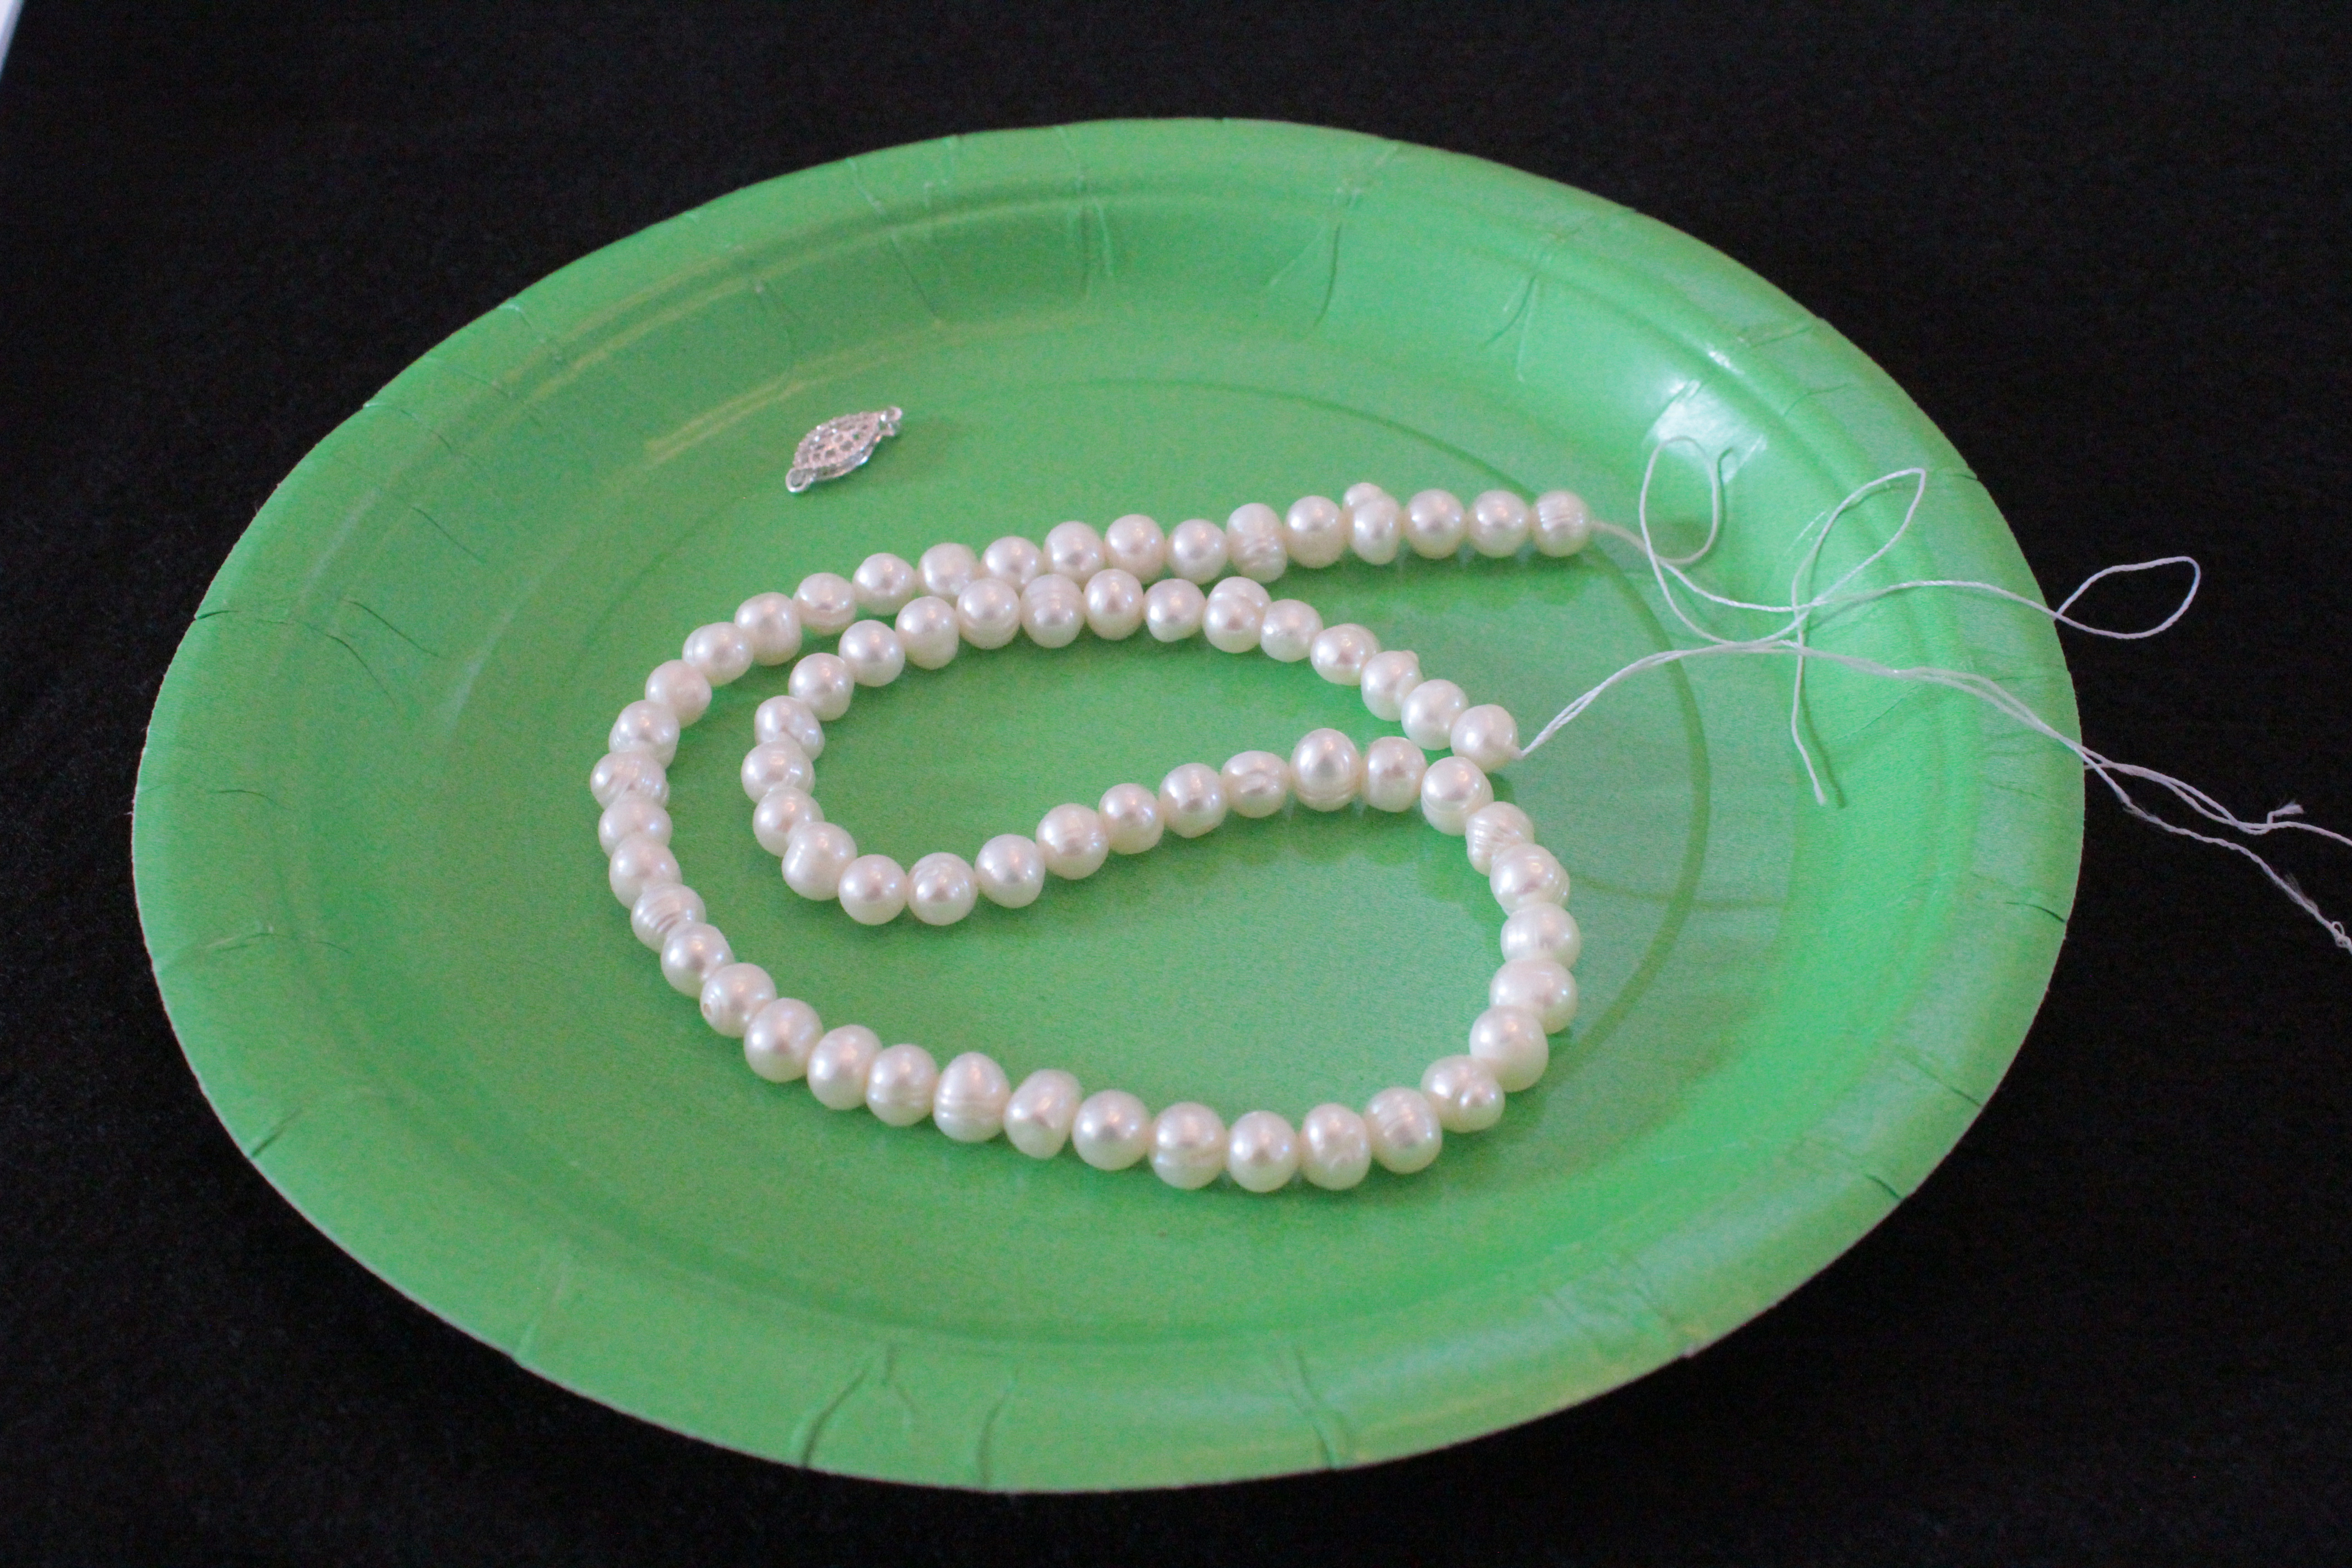
For our necklaces (or in my case bracelet), we used a 12×7 mm filigree oval fish hook clasp; white lotus cultured pearls; size E white silk thread; flexible beading needles, a metal yard stick, needle nose pliers, and scissors. It was also extremely handy to have two experienced park rangers on hand to correct our mistakes. We were among the first to arrive and the last to go (by 30 minutes).

Luckily, the park rangers had a cheat sheet for us explaining each of the 13 steps. The steps, as written, are:
STEP 1: The first being to determine the length of the necklace we wanted;
STEP 2: Cutting the length of thread 4-times the determined finished length. Size E silk thread.
STEP 3: Thread your needle. At the end of the threads, tie an overhand knot, securing the two ends together;
STEP 4: Thread on two beads and the clasp. Slide them down toward the knot.

STEP 5: Pass the needle back through the bead closest to the clasp.
STEP 6: Pull the working thread until the clasp is snug against the first bead and 1″ of thread remains between the first and second bead. Tie an overhead knot using the tail end and the working thread. Pull the knot tight so it rests against the pearl closest to the clasp.
STEP 7: Pass the working thread through the second bead then slide it against the first knot.
STEP 8: Make an overhead knot using the tail thread and working thread. Slip the knot over the nail. Work the knot while it’s still on the nail down to the bead. Then slowly work the knot off the nail and using your fingernails to push the knot tight against the pearl. Try not to tighten the knot until it’s touching the pearl.
STEP 9: Thread on the rest of your beads. (Optional — put the pearls on 2-3 at a time) Space the beads 8-10″ from the beads that are already knotted. Slide the bead next in line up against the last knot. Repeat Step 8 until placed knots between all of the beads except for the last two.
STEP 10: Thread the other piece of the clasp onto the working thread. Bring the thread back through the last strung brad. Pull the thread so the beads are tight against the clasp.
STEP 11: Tie a half-hitch knot between the last two beads. Pull tight.
STEP 12: Bring the working thread through the second to last bead.
STEP 13: Trim the thread on both ends of the necklace (or bracelet). Optional: Apply glue to the first knot on both ends.

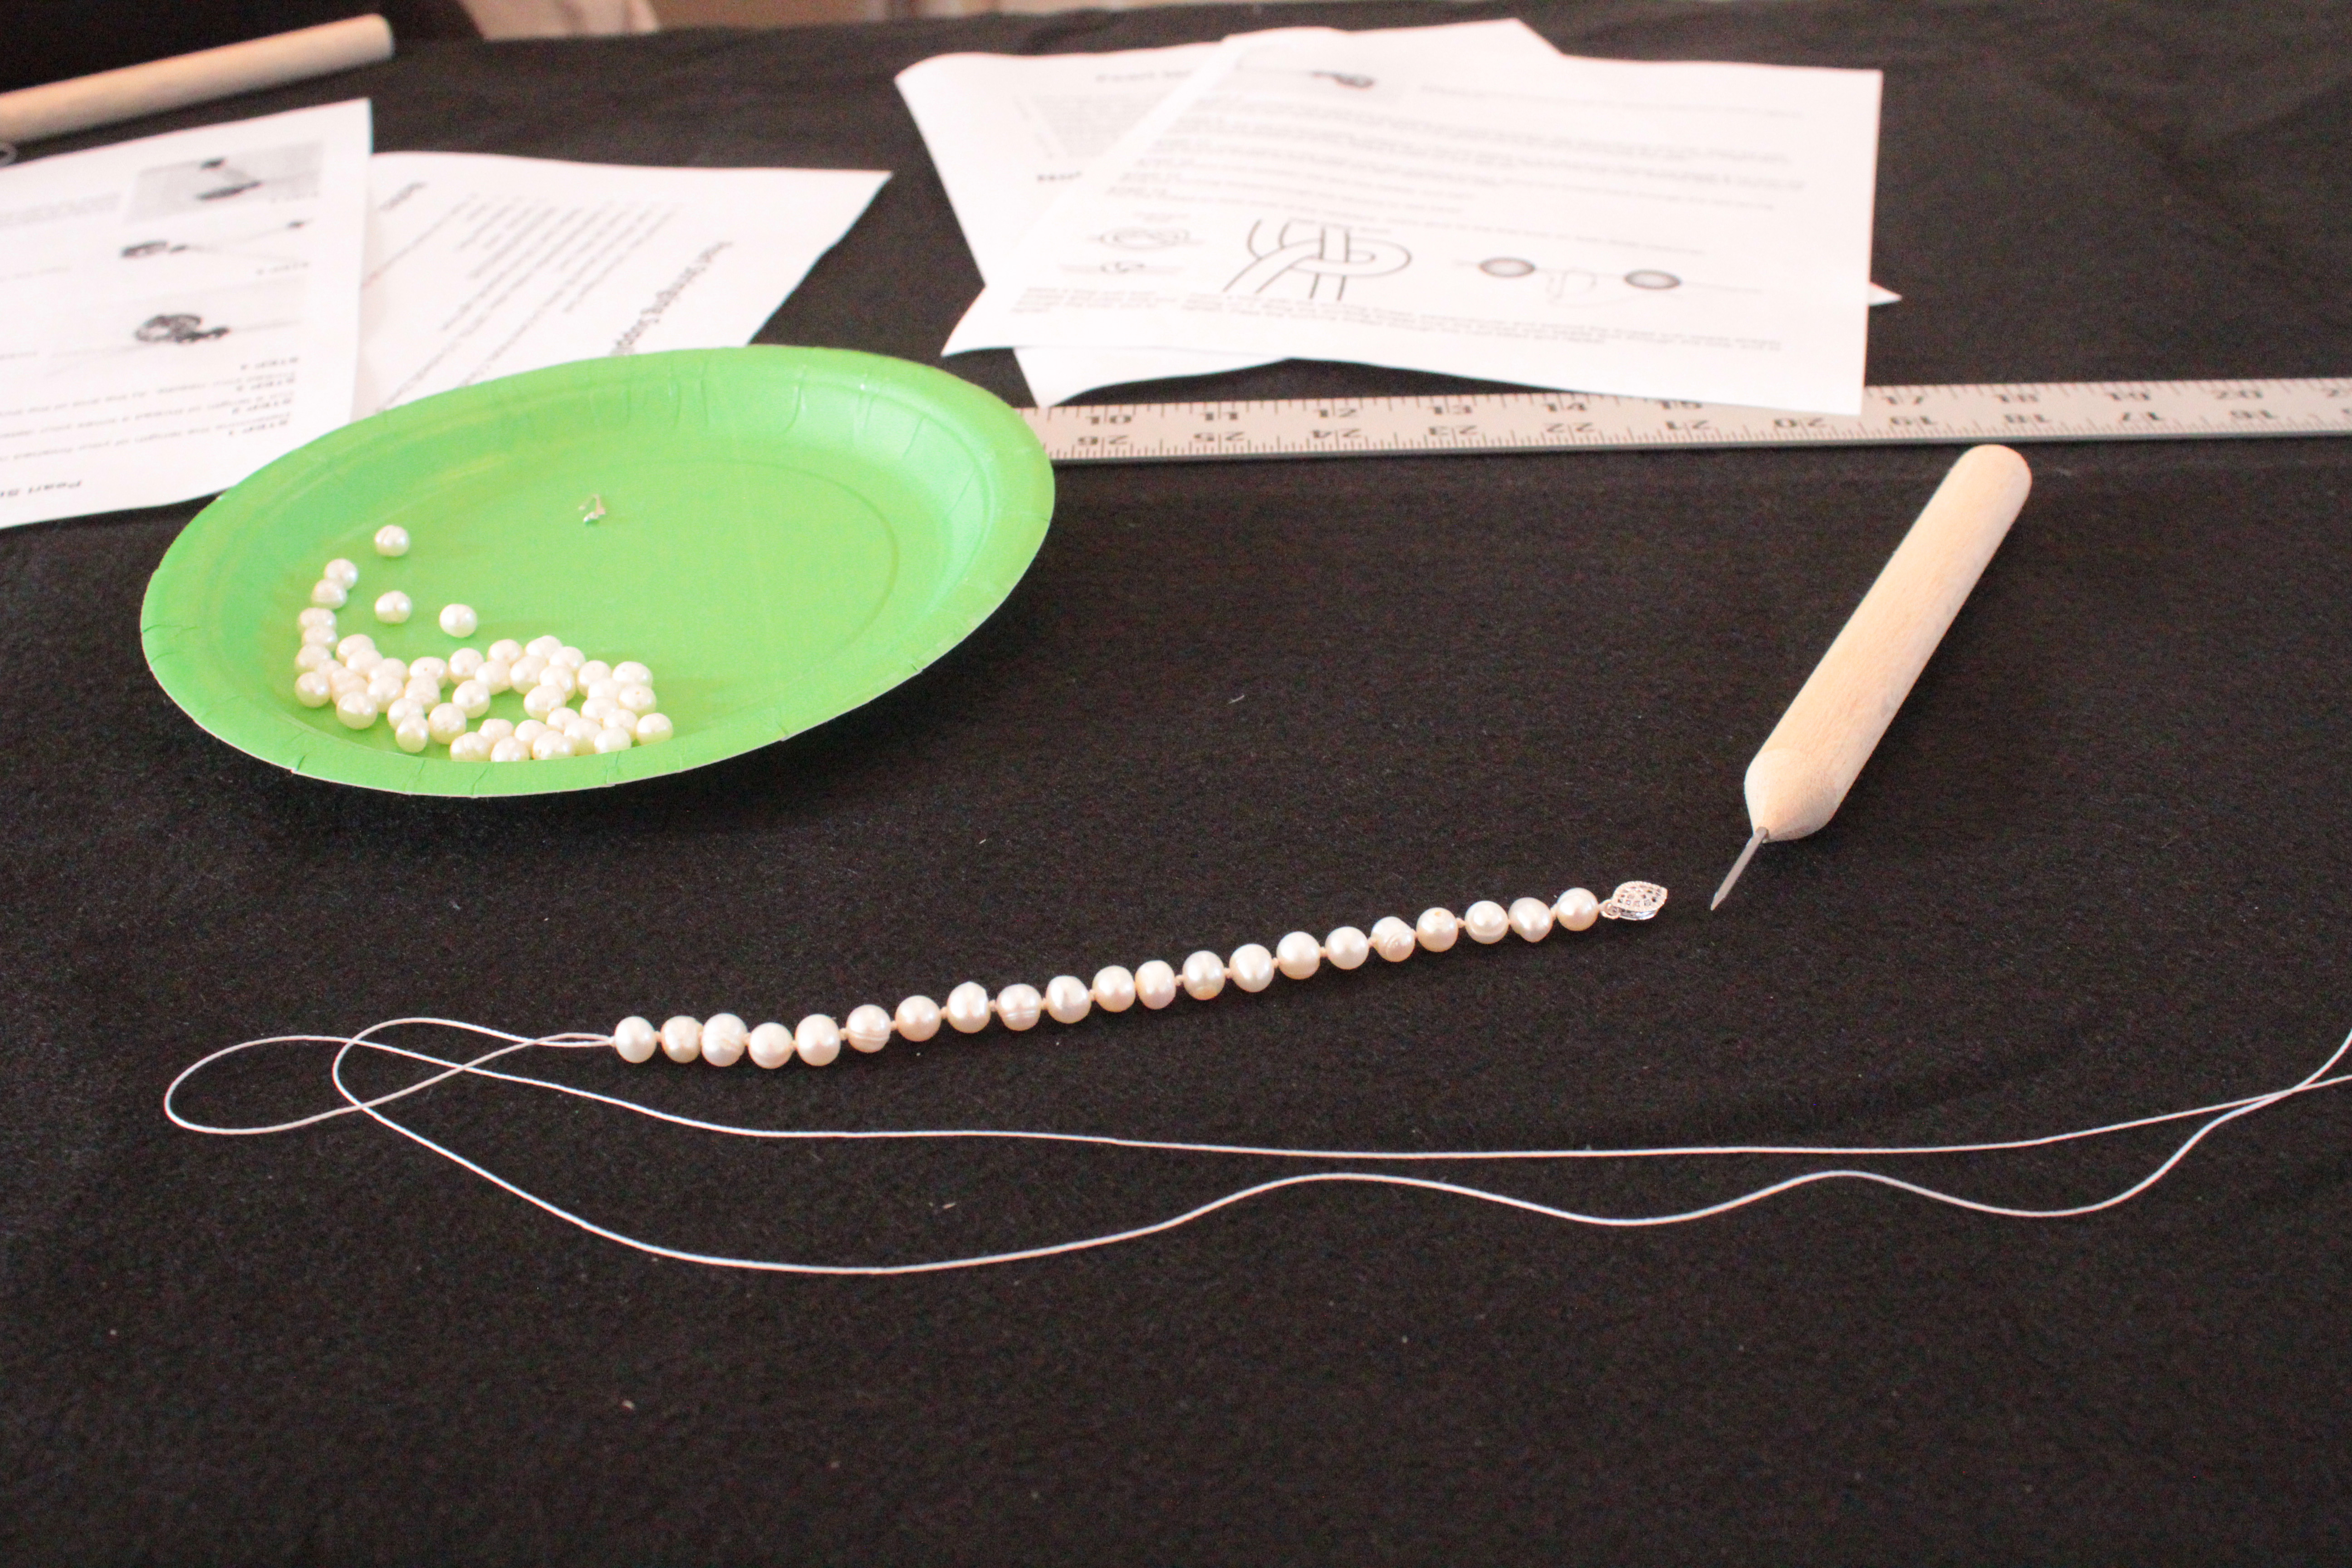
The above is my finished project — yes, I was too lazy to make a full necklace. It still turned out great with one exception. It was too large (see below).

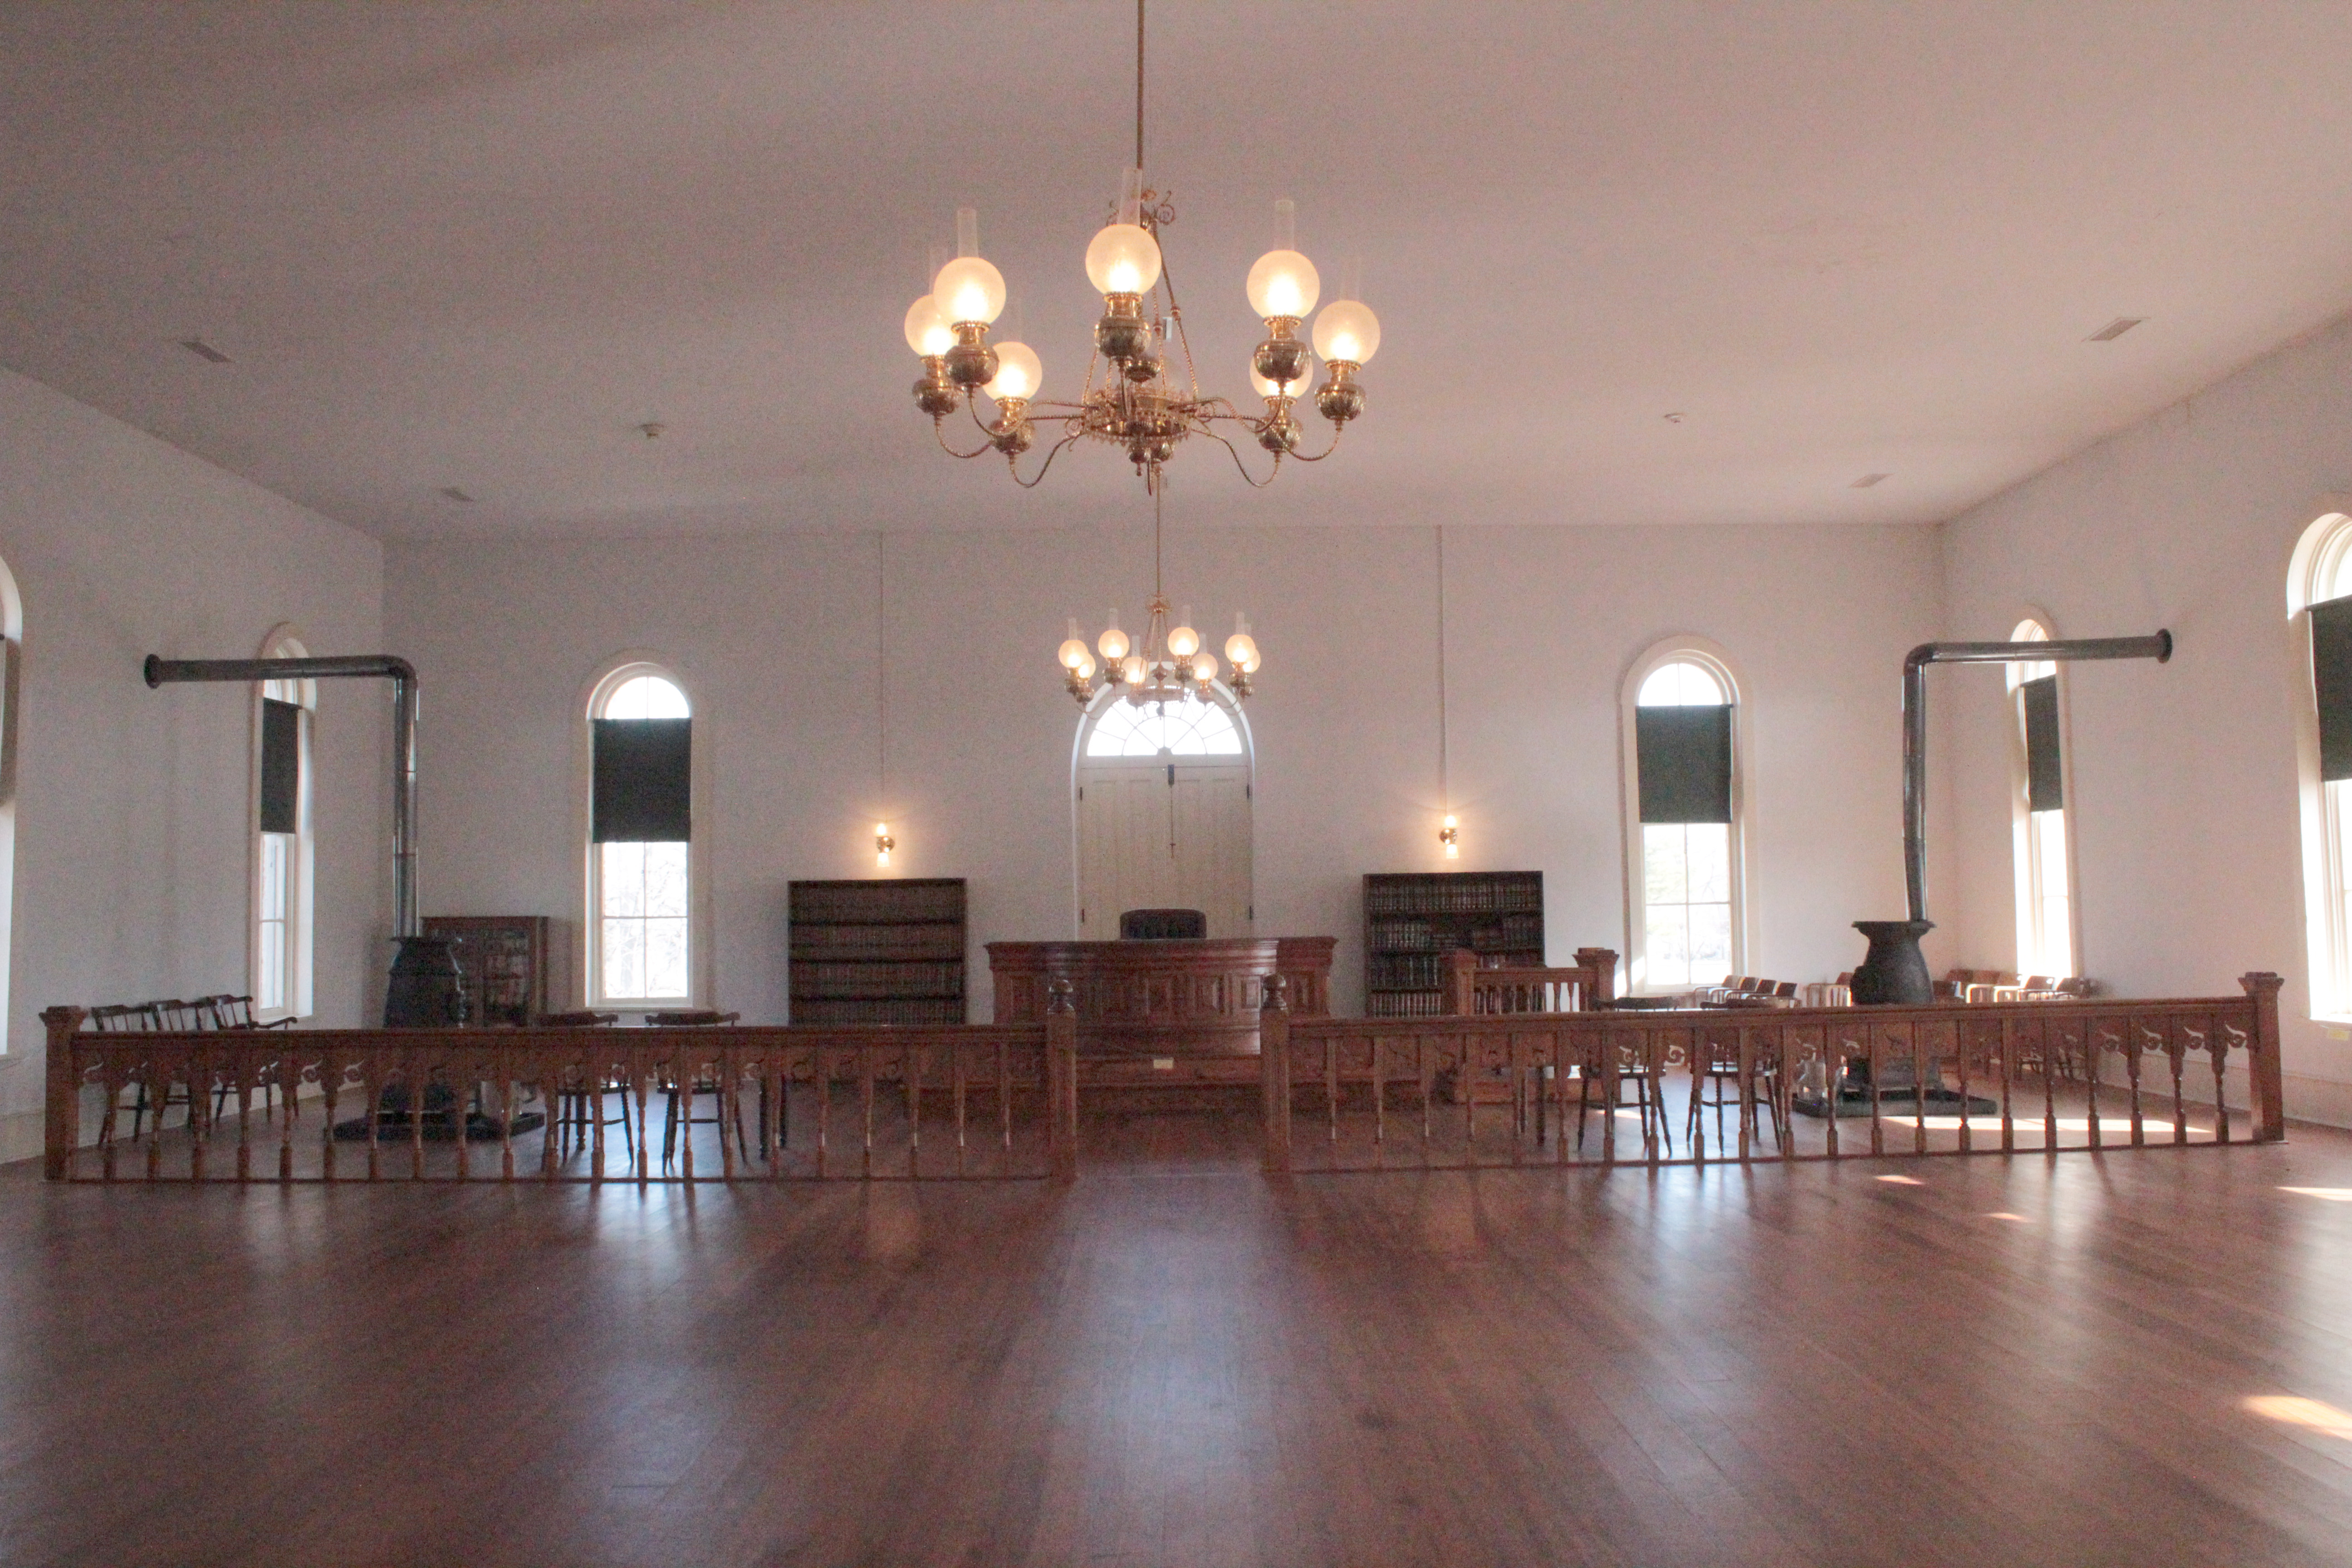
I spent a good while reworking the clasp before handing it over first to a park ranger to fix and eventually my mother. My mother was the one to finally correct my overlarge bracelet. And it looks great! 🙂 I ended up finishing first so I toured the upstairs courtroom. Below, are more pictures: